1
Open a supported RAF
Drag a .RAF file into the app window or choose Open RAF. HDR RAF Extractor verifies that the file is a supported three-frame Fujifilm HDR RAF before loading.
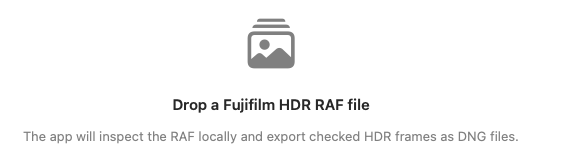
A quick walkthrough from opening a RAF to exporting separate DNG frames.
Drag a .RAF file into the app window or choose Open RAF. HDR RAF Extractor verifies that the file is a supported three-frame Fujifilm HDR RAF before loading.
Inspect the three embedded HDR frames — metered, under, and over — with EV values, preview, camera model, and exposure metadata. When the RAF includes only the normal-capture preview, HDR RAF Extractor shows simulated under/over previews as visual estimates, not final rendered images.
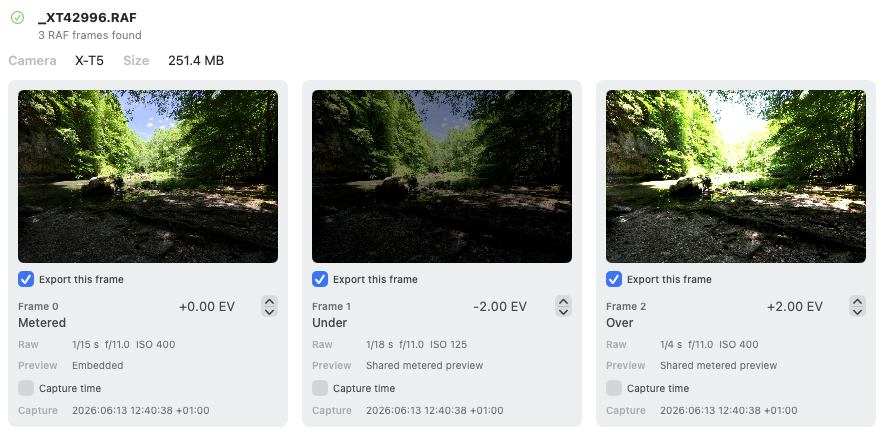
Check or uncheck frames to export. Adjust EV and capture-time metadata if needed. These edits are written into the exported DNGs.

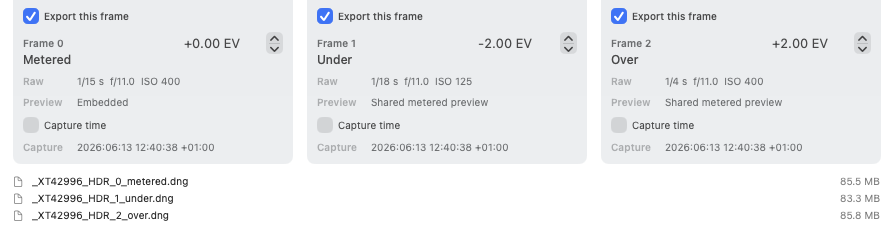
Click Export DNG, choose a destination folder, and HDR RAF Extractor writes the selected frames as separate DNG files with canonical names. A log shows successful exports. If files already exist, you can keep both, overwrite, or cancel; any export errors are shown in the app.